


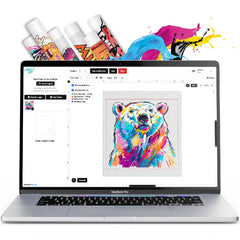
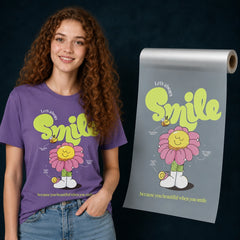
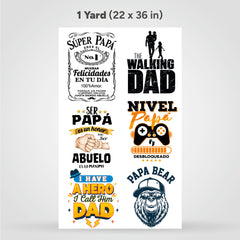
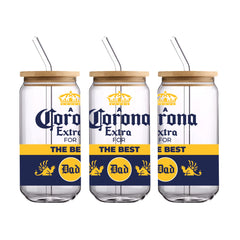
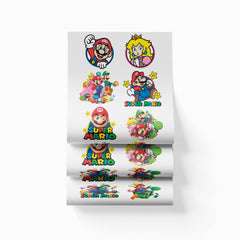

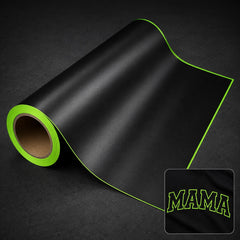
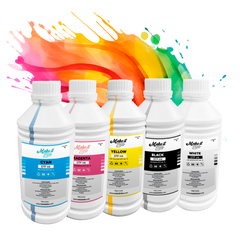
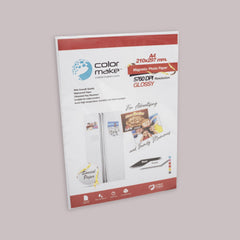
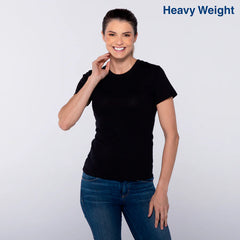




Make It Labs teaches you how to apply DTF transfers correctly, including how to verify temperature and pressure settings.
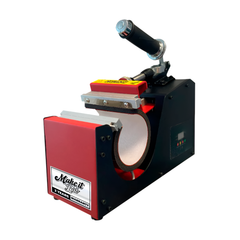
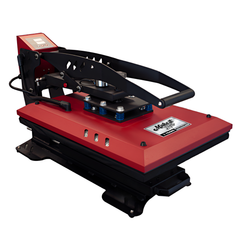
Make It Labs makes DTF heat transfer application easy. With a commercial heat press, your transfer, and the garment or product of your choice, you are ready to get started. For optimal results, a post-press is recommended. Follow the guide below to achieve a polished, professional finish.
DTF HOW TO APPLICATION
Get the perfect results on applying DTF Transfers onto your products.

Pre-Press or Pre-Iron is not required
Make It Lab transfers do not require you to remove moisture or wrinkles before pressing. Pre-pressing is optional and only necessary if you choose to do it.
Pro Tip: When applying to a garment or surface you have not used before, we recommend a small test press to verify your settings and ensure the best possible result.

Position Your Design
Place your transfer in the desired position and ensure it is flat before pressing. It can be applied over seams, such as on 6-panel hats and t-shirt side seams. Heat-resistant tape is recommended for hats or when using a household iron to prevent shifting during application. As you gain experience, you will know when tape is needed.

Press & Peel
Press at 310°F / 155°C with medium to firm pressure for 12 seconds. Test on a spare garment first for best results. Use parchment paper to protect the transfer and garment, then let it cool for a few seconds before peeling.
Pro Tip: A silicone garment protector can speed up your process and help prevent scorching.

Final Press & Wash Instructions
A final press is recommended. After peeling, cover the design with parchment paper or a layer of t-shirt material and press for 12 seconds to improve softness, durability, and finish.
Care Instructions: Wash inside out in cold water and dry on low heat or hang to dry for best results.
Troubleshooting Common Issues
Even with proper application, issues can occasionally happen. Here are a few common things to watch for:
Transfer Not Adhering Properly
If the transfer is not sticking correctly, place it back down and press again with:
- Place it back down and press again with more pressure and an additional 15°F of heat.
- If needed, continue increasing the temperature in 15°F increments until the transfer applies properly.
Note: Repeated pressing will not damage the transfer.
Design Cracking or Peeling After Washing
If your design cracks or peels after washing:
- To help protect the design, always wash garments inside out.
- For best results, wash in cold water on a gentle cycle.
- Do not use bleach or harsh detergents.
- Hang dry or tumble dry using low heat.
Transfer Misalignment During Application
If your transfer shifts during application:
- Use thermal heat tape to keep the transfer securely in place.
- Close the press gently to prevent air movement.
- Pre-press the garment to create a smooth, flat surface.
- Make sure your work surface is stable.
- Consider using a placement guide or the Make It Lab DTF Alignment Ruler Set.
DTF Transfers Frequently Asked Questions
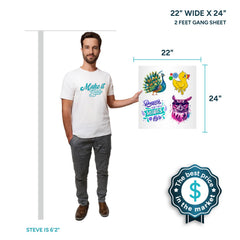
You can fit multiple designs on a Make It Lab DTF Gang Sheet, depending on the sheet size you choose. Gang sheets are ideal for combining several designs onto one sheet for efficient printing.
For the best results, we recommend uploading PNG files. SVG and AI files are also accepted. To ensure high-quality prints, all artwork should be at least 300 DPI.
For women’s apparel, the best DTF transfer size usually depends on the placement and garment size, but these are the most common recommendations:
• Full Front: 9" to 11" wide
• Left Chest: 3" to 4" wide
• Center Chest: 6" to 8" wide
• Sleeve: 2.5" to 3.5" wide
For youth apparel, the right DTF transfer size depends on the garment size and design placement, but these are the most common recommendations:
• Full Front: 7" to 9" wide
• Left Chest: 2.5" to 3.5" wide
• Center Chest: 5" to 7" wide
• Sleeve: 2" to 3" wide
For adult apparel sizes 2XL to 5XL, larger transfers usually look more balanced and proportional on the garment.
Recommended sizes:
• Full Front: 12" to 14" wide
• Left Chest: 3.5" to 4.5" wide
• Center Chest: 10" to 12" wide
• Sleeve: 3" to 4" wide
No minimum order is required. You can order as few or as many transfers as you need. Sample packs are also available if you would like to test our products first.
We produce and ship all orders within 1 business day.
Orders can be canceled before they enter production. Since we produce and ship within 1 business day, cancellations must be made quickly.
If you experience any issues with your order, please contact us through the methods listed on our Contact Page.
UV HOW TO APPLICATION
Get the perfect results on applying UV Transfers onto your products.

Clean the Surface
Wipe the item with alcohol and make sure it is completely dry. Remove any dust, lint, or fingerprints before applying.

Place the Design
Set the transfer where you want it and check the placement carefully. Once it touches the surface, it can be hard to move.

Apply with Pressure
Press the transfer onto the surface from one side to the other with your fingers or with a squeegee to help avoid bubbles or wrinkles.

Remove the Top Film
Peel from an angle the clear film back slowly and carefully. If any part lifts, press it down and rub it in and peel back again. Once all peels just rub in the print.
UV Transfers Frequently Asked Questions
Find answers to commonly asked questions below.
A UV DTF transfer is a high-quality adhesive decal that lets you apply full-color designs onto hard surfaces like mugs, cups, glass, plastic, metal, and more without needing a heat press.
No. UV DTF transfers are pressure-applied, not heat-applied. You just clean the surface, position the design, press it down firmly, and peel away the carrier film.
They work best on smooth, hard, clean surfaces such as ceramic mugs, glass cans, tumblers, plastic, acrylic, metal, and coated wood. Rough or heavily textured surfaces do not work well.
Wipe the surface with alcohol and make sure it is fully dry, dust-free, oil-free, and free of fingerprints. A clean surface is critical for strong adhesion.
Yes, they are generally water-resistant and durable once properly applied. But they still need proper care if you want the design to last as long as possible.
Hand washing is strongly recommended. Some may survive light dishwasher use, but repeated dishwasher cycles can weaken the adhesive and shorten the life of the design.
Not really. Once the adhesive touches the mug and starts bonding, repositioning usually causes stretching, bubbling, or damage. That is why careful placement matters before pressing it down.
It is best to wait at least 24 hours after application before washing or heavy handling so the adhesive can fully bond to the surface.
They can be removed, but usually not cleanly like a reusable sticker. Removal may require scraping, adhesive remover, or heat, and it can damage the decal in the process.
The most common reasons are an unclean surface, applying to a textured surface, poor pressure during application, or peeling the carrier sheet too quickly. Firm burnishing and slow peeling make a big difference.
Any question?
If we still haven't answered your question, you can contact us below and we will get back to you as soon as possible.